
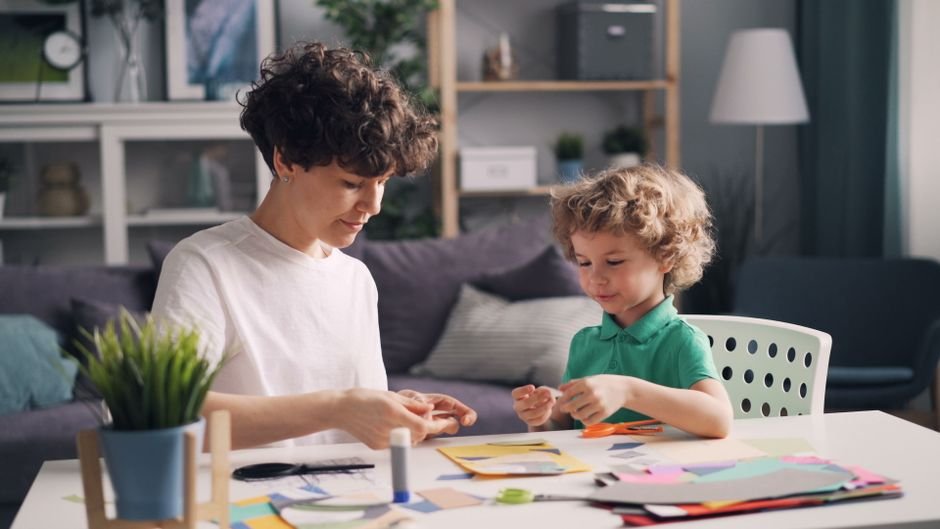
Here are a few of our go-to crafts for grandkids — nothing fancy, just things I’ve actually made with the girls using whatever we had lying around, plus a couple worth a quick trip to the store. I’ve noted the best ages and about how long each one really takes, because let’s be honest — a “quick craft” that ends with you scrubbing glitter off the table for 45 minutes doesn’t count as quick!
Paper Plate Sun Catchers
Ages 3–7 · 15–20 minutes · Low mess
Cut the center out of a paper plate so you’re left with just the rim, then let the kids go to town sticking torn bits of colored tissue paper across the open circle with a glue stick. Tape a strip of clear contact paper over both sides to seal it all in, punch a hole in the rim, and hang it up in a window. Simple as that!
You’ll need: paper plates, colored tissue paper (torn into pieces), a glue stick, clear contact paper, a hole punch and string.
And here’s the thing about having them tear the tissue paper instead of cutting it — it’s wonderful for those little fine motor skills, and there’s no way to mess it up, so nobody’s correcting anybody. Win-win.
Handprint Keepsake Art
Ages 1–4 · 10 minutes plus drying · Some mess
Paint one little hand at a time with washable paint and press it onto some thick paper or a small canvas. Once it dries, jot down the date and how old they are in the corner. Do this every year or so and before you know it, you’ve got a whole stack showing just how much they’ve grown — I love looking back through ours.
You’ll need: washable kids’ paint, thick paper or a small canvas panel, a damp cloth on standby.
Honestly, this one’s less about the craft itself and more about the keepsake. I try to do it once a year with each of the girls — it’s turned into a little tradition.
DIY Friendship Bracelets
Ages 6–10 · 20–30 minutes · No mess
Tie three or four strands of embroidery floss together at one end — taping that end to the edge of a table keeps it steady — then braid or knot a simple pattern. This one’s great for a car ride or a lazy afternoon sitting together, since it keeps their hands busy longer than just about anything else on this list.
You’ll need: embroidery floss in a few colors, tape or a clipboard to anchor one end, scissors.
There’s real skill in following that over-under-over pattern at this age, even though it doesn’t feel like “work” to them — just looks like a bracelet.
Nature Walk Collage
Ages 4–8 · 30–40 minutes total · Two parts: outside and inside
Take a little walk together and collect leaves, small flowers, whatever interesting twigs catch their eye, and toss it all in a bag. Back home, arrange it on paper and glue it down — freeform is fine, or turn it into a shape, like a leaf owl or a flower sun. Want it to lay nice and flat? Slide it under a heavy book overnight.
You’ll need: a small bag for collecting, glue (a glue stick works, but liquid glue holds heavier pieces better), construction paper.
I like this one because the walk is really the whole point — the craft just gives it a “job” to do, which somehow keeps the littler ones going a lot longer than a plain walk would.
Teddy Graham Cake
Ages 2–8 · 20–30 minutes · Baking and decorating
Frost a simple cake, then let the girls go wild pressing Teddy Grahams all over it — climbing up the sides, hanging out on top, however they want to arrange their little bear crew. This is one I’ve actually made with my own granddaughters, and it’s a favorite.
You’ll need: a simple cake and frosting, a box or two of Teddy Grahams.
The frosting is basically edible glue, so there’s zero pressure to make it look “right” — the bears can go anywhere, and it still turns out cute. That’s what makes it such a good one for little hands.
All five of these crafts for grandkids have been tried with my own granddaughters — if one’s a dud with yours, let me know and I’ll swap it out for something better!
Looking for more crafts for grandkids? Check out Storytime for book picks, or Learning for activities by age and stage. For more ideas, PBS Parents’ craft collection is also worth a look.